Are you interested in improving the efficiency of your solar panel system? Adding an inverter is a smart decision! By selecting the right inverter, you can easily convert the DC power produced by your panels into AC power for everyday use. This article will provide you with a step-by-step guide on how to choose and install the perfect inverter for your system. Additionally, we will discuss the topics of wiring, testing, troubleshooting, and optimizing its performance. Get ready to elevate your solar panel setup to a whole new level!
Choosing the Right Inverter for Your Solar Panel System
When choosing the right inverter for your solar panel system, it’s important to consider factors such as the power output and efficiency. Selecting the appropriate inverter is crucial to ensure that you are maximizing the energy generated by your solar panels. Evaluating inverter efficiency is a key step in this process. Efficiency refers to how well an inverter converts the DC electricity produced by your solar panels into AC electricity that can be used to power your home or business. Higher efficiency means less energy loss during conversion, resulting in more usable power for you. Look for inverters with high efficiency ratings, as they will help you generate more electricity from your solar panels and save on energy costs over time.
Understanding the Wiring and Connections for the Inverter
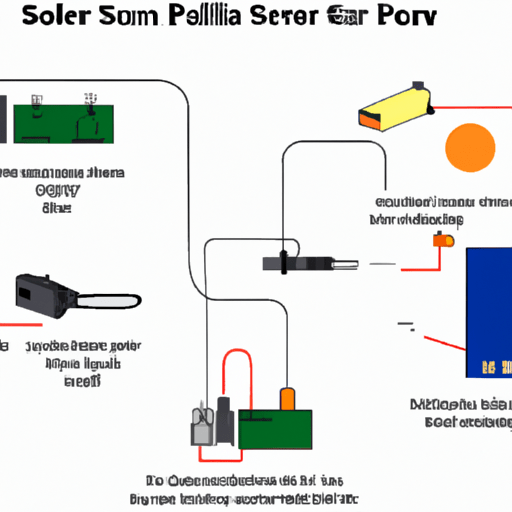
Understanding the wiring and connections for the inverter can be tricky, but it’s important for a properly functioning solar panel setup. When it comes to inverter installation, you need to pay close attention to the electrical connections. First, make sure that the inverter is properly grounded. This will prevent any potential electrical hazards and ensure the safety of your system. Next, you’ll need to connect the DC input from your solar panels to the inverter. It’s crucial to follow the manufacturer’s instructions and use proper wiring techniques for this step. Lastly, you’ll need to connect the AC output of the inverter to your home’s electrical system or grid connection point. Again, always refer to the manufacturer’s guidelines for this process. By understanding these wiring and connection procedures, you can ensure a smooth and efficient operation of your solar panel system with an inverter installed.
Steps to Install the Inverter in Your Solar Panel System
To properly install the inverter, start by carefully following the manufacturer’s guidelines for grounding and connecting the electrical components. Begin by turning off the power to your solar panel system and disconnecting it from any external power sources. Next, locate a suitable location for the inverter that is well-ventilated and easily accessible. Mount the inverter securely on a wall or other stable surface using appropriate screws or brackets. Once installed, connect the wiring from your solar panels to the designated input terminals on the inverter. Ensure that all connections are tight and secure to prevent any loose or faulty wiring. Lastly, connect the output terminals of the inverter to your main electrical panel using appropriately sized wires and breakers as specified by local codes. Double-check all connections before restoring power to your system.
Testing and Troubleshooting the Inverter Integration
Make sure you check the wiring connections and troubleshoot any issues before restoring power to your setup. When integrating an inverter into your solar panel system, it is important to be aware of common inverter issues and know how to troubleshoot them. One common issue is a faulty connection between the inverter and the battery bank. To troubleshoot this, start by inspecting all the connections for loose or damaged wires. Another issue could be a blown fuse or circuit breaker, which can be fixed by replacing them with new ones. Additionally, if the inverter fails to turn on or produce power, it may indicate a problem with the control board or internal components. In such cases, contacting technical support might be necessary for further troubleshooting techniques.
Optimizing and Monitoring the Performance of Your Solar Panel System With the Inverter
Monitoring the performance of your solar panel setup becomes easier with an inverter that allows you to track energy production and consumption. Adding an inverter to your system not only enables you to convert the direct current (DC) generated by the solar panels into alternating current (AC) for use in your home but also provides valuable insights into how well your system is operating. With an inverter, you can monitor the amount of electricity being generated by your panels and compare it to your household’s energy consumption. This allows you to identify any discrepancies or potential issues with your system, enabling timely maintenance and maximizing its efficiency. Additionally, using an inverter helps you take advantage of net metering programs offered by utility companies, allowing you to sell excess electricity back to the grid and potentially earn credits on your bill. So, invest in an inverter today and enjoy the benefits of efficient monitoring and maintenance for a more optimized solar panel system.