
To cure resin jewelry beautifully, experiment with different techniques. Utilize a UV lamp for consistent exposure. Rotate your items periodically to prevent soft spots. Solar curing is environmentally friendly; place your pieces in direct sunlight. Consider using a pressure pot to eliminate bubbles, but always follow resin guidelines. A warm water bath can promote even curing and reduce the occurrence of bubbles. Be cautious when using heat guns for quick results. Opt for slow cure resins for intricate work and shield your pieces from debris. By employing these methods, your resin jewelry creations will be truly stunning. Discover more tips to achieve perfection in your resin jewelry crafting.
UV Lamp Curing
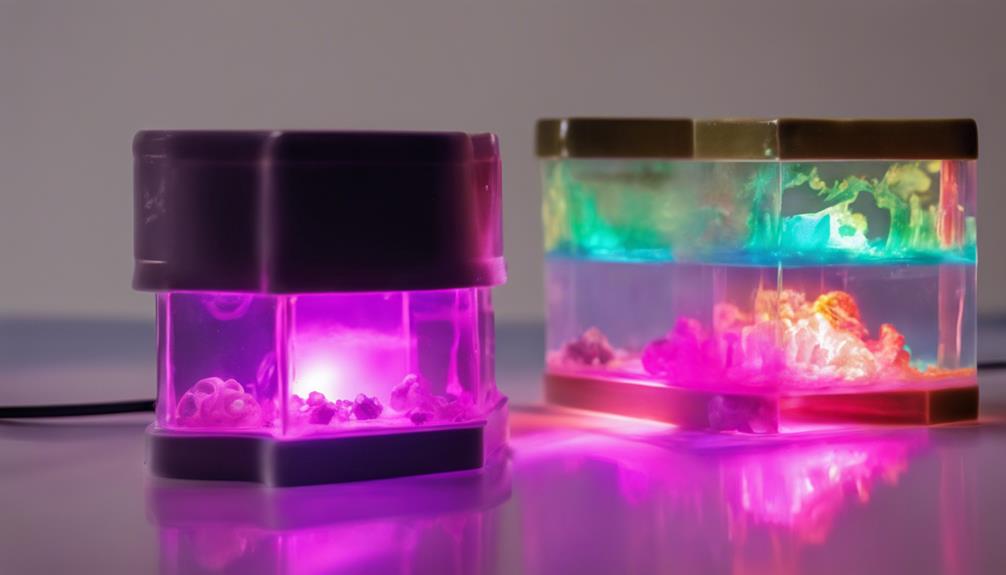
When curing resin jewelry using a UV lamp, make sure that the resin is evenly exposed to the light for proper hardening. It's important to rotate your piece to guarantee all angles receive sufficient UV exposure. Uneven curing can lead to soft spots or tacky areas in your resin jewelry. Remember, patience is key during this process!
Before you start curing, double-check that your resin is free of dust or debris. Even tiny particles can affect the final result. Once you're ready, place your piece under the UV lamp and set a timer based on the manufacturer's recommendations. Avoid rushing this step; giving your resin enough time to cure properly is essential for a durable finish.
After the recommended curing time, check your resin jewelry for any uncured areas. If you notice any soft spots, simply give them additional curing time under the UV lamp. With a bit of attention to detail and the right technique, your resin jewelry will come out beautifully hardened and ready to wear.
Solar Curing
For effective curing of resin jewelry using solar energy, make sure your pieces are exposed to direct sunlight for best hardening. Solar curing is a fantastic option for curing resin jewelry, as it's environmentally friendly and cost-effective. When placing your resin pieces in the sunlight, make certain they are on a flat surface to prevent any spills or uneven hardening. The UV rays from the sun will penetrate the resin, initiating the curing process. It's essential to monitor your pieces throughout the curing time to prevent overexposure, which can lead to discoloration or other issues.
Remember that the curing time may vary depending on the intensity of the sunlight. On a bright, sunny day, your resin jewelry may cure relatively quickly, but on cloudy days, it might take longer. Patience is key when solar curing resin jewelry. Once your pieces have fully hardened, you can enjoy the beautiful results of your solar-cured resin jewelry. Enjoy the process and experiment with different curing times to achieve the perfect finish.
Pressure Pot Technique
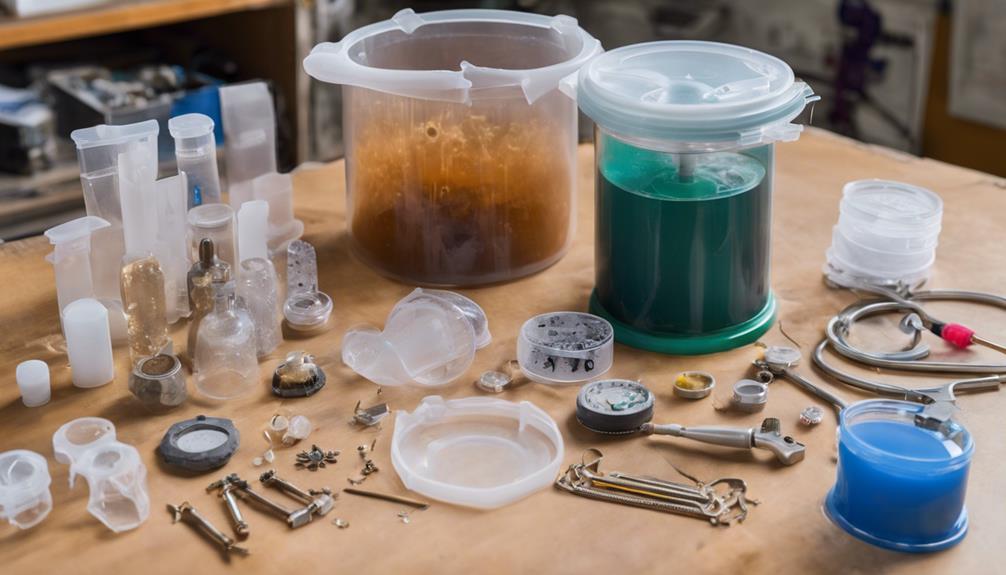
Using a pressure pot is an effective method for curing resin jewelry with consistent results. This technique involves placing your resin-filled molds into a pressure pot, which is then pressurized. The pressure helps to eliminate any air bubbles trapped in the resin, resulting in a smooth and clear finish for your jewelry pieces.
To use the pressure pot technique, start by preparing your resin mixture and pouring it into the molds. Make sure to follow the manufacturer's instructions for the resin you are using. Once your molds are filled, carefully place them inside the pressure pot. Seal the pressure pot according to the manufacturer's guidelines and gradually increase the pressure to the recommended level.
Allow the resin to cure under pressure for the specified time. After curing, carefully release the pressure according to the instructions and remove your cured resin jewelry from the molds. You will notice that the pressure pot technique has helped create flawless resin jewelry pieces ready for finishing touches.
Water Bath Method
To achieve the best curing results for your resin jewelry, consider utilizing the water bath method. This technique involves placing your resin pieces in a warm water bath to help cure the resin more evenly and reduce the chances of bubbles forming in your final piece. Here's how you can use this method effectively:
Start by preparing a bowl or container with warm water. The water should be warm to the touch but not too hot to handle. Place your resin jewelry pieces in a separate container and then put that container into the warm water bath.
Allow your resin pieces to cure in the water bath for the recommended time according to the resin manufacturer's instructions. This gentle heating process can help the resin cure smoothly and give you a professional-looking finish.
Once the curing time is complete, carefully remove your resin jewelry from the water bath and let them cool and cure fully before handling. The water bath method can be a simple yet effective way to improve the quality of your resin jewelry pieces. Give it a try and see the difference it makes in your creations!
Heat Gun Curing
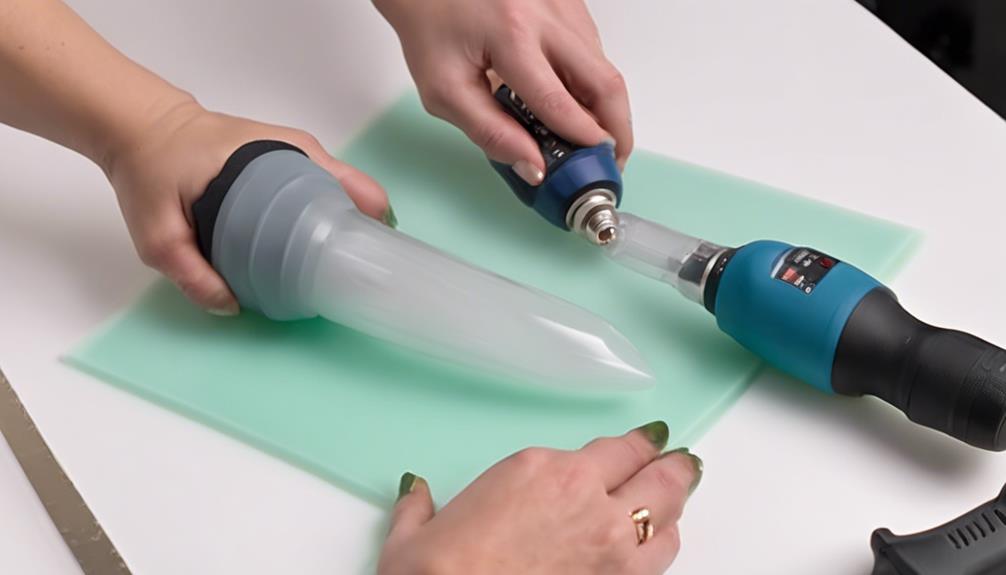
Consider utilizing a heat gun for curing resin jewelry to achieve efficient and precise results. Heat gun curing is a quick and effective method that can help you achieve professional-looking resin jewelry pieces. To start, after pouring your resin into the mold, use a heat gun on a low setting and hold it a few inches away from the surface of the resin. Move the heat gun around in a sweeping motion to evenly distribute the heat and prevent overheating in one spot.
The heat gun expedites the curing process by removing bubbles and allowing the resin to set smoothly. Keep in mind that different resins may require varying amounts of heat, so it's essential to test on a small sample first. Additionally, be cautious not to overheat the resin, as this can cause it to yellow or become brittle. With practice and a gentle touch, the heat gun can be a valuable tool in your resin jewelry-making arsenal.
Slow Cure Options
For a longer curing process that allows for better control over the resin's setting, opting for slow cure options can be advantageous. Slow cure resins are designed to cure over an extended period, typically 24 to 72 hours, giving you more time to work on your resin jewelry without feeling rushed. This extended curing time can be beneficial when working on intricate designs or when you want to avoid the stress of a quick setting resin.
When using slow cure options, it's crucial to follow the manufacturer's instructions carefully to guarantee proper curing. Make sure to mix the resin and hardener thoroughly and avoid introducing any air bubbles during the mixing process. Once poured, cover your piece to protect it from dust and debris that could mar the surface during the curing process.
While slow cure options require patience, the results are often worth the wait. The extended curing time can lead to a more thorough and even cure, resulting in resin jewelry that is durable and beautifully finished. So, if you're looking for a more relaxed approach to resin jewelry making, consider giving slow cure options a try.
Conclusion
Now that you know the best techniques for curing resin jewelry, you can confidently create stunning pieces with ease. Whether you choose to use a UV lamp, solar curing, a pressure pot, a water bath, a heat gun, or opt for a slow cure method, your resin creations are sure to turn out beautifully. Remember to take your time, experiment with different methods, and most importantly, have fun with your resin jewelry making!